Organizing your experiment |
|
|
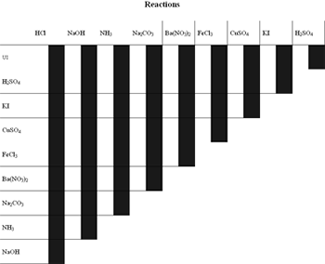
There are three charts at the end of this experiment. These are labeled reactions, observations, and unknowns. They'll help you keep track of everything throughout the lab. They're nothing fancy. You will make similar ones yourself. |
|
|
Remove the three charts from the end of this experiment. |
|
|
Place the reactions chart between stiff paper and a transparency sheet. The stiff paper provides a flat surface, and the transparency is a good reaction surface. Once you have this set up, you may want to tape down the edges to keep it all in place. Set the other two charts aside for now. |
|
|
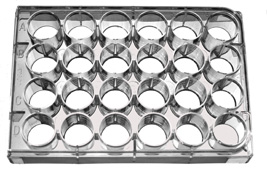
Get out two well trays. One will be for the reagents and the other for your microburettes. Place a sheet of paper underneath each well tray. |
 |
|
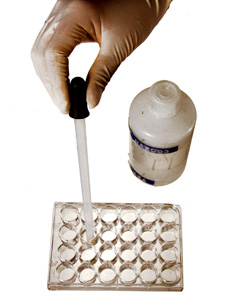
Label one sheet so that you can keep track of what reagent you put in each well. How you do this is up to you-just make sure it's straightforward enough that you won't be confused later. Then fill each well with some reagent, according to your chart. Your TA will tell you where to get these compounds. |
 |
|
Label the paper under the other tray the same way. To avoid contamination during the experiment, you'll have one microburette for each reagent, and you can keep them all in the second well tray. Store the microburette in the well labeled with the reagent you will use with it. This should avoid contamination and allow you to find what you need quickly, but it's a good idea to label the individual microburettes as well. You'll likely have to redo a large portion of your lab if you lose track of what's what, and at some point during the experiment, you will undoubtedly find two or three microburettes laying out on your bench that you've forgotten to put away. |
|